
QA Optimizely Experiments: A 3-Step Guide
Mike Krass • April 27, 2015 • 5 minutes to readHow do you QA your A/B testing experiments?
When we first tried out Optimizely, an A/B testing tool, all we thought we had to do was to navigate to the 'Preview' option of the experiment variation and take a quick peak to QA the experiment.
Wrong!!!!!! Over the years, we've learned that the good-old-fashioned preview feature is only one of three different ways to perform quality assurance checks on your A/B testing experiments.
Enter: The 3 Step QA Process
As we have built and refined our own conversion rate optimization process over the past three years, we discovered there were three critical step to QA Optimizely experiments.
Those steps are...
- Viewing an experiment in the Preview pane
- Testing across multiple browsers and OS's
- Using a Force Parameter to load a paused experiment on a live staging URL
In order for an experiment to be cleared for takeoff, our QA process dictated that it needed to pass all three steps in our QA process from a minimum of two different members of the MKG team.
That being said, here is the order of operations we follow each time we QA an experiment.
Step #1: The Preview Pane
This is probably the easiest step in the process: Using the preview feature within your experiment.
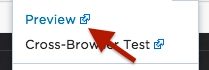
When we click on 'Preview', we're really looking for a few things:
- Design: How does my design look? Sometimes this can change from the small-screen editor view to the blown up browser view that your site visitors will see.
- Interaction: Do all the links click through, videos play, and interactive elements of the page operate as they should?
You can watch me mess around with the Preview feature at the 1:05 mark in the video below:
https://youtu.be/b8m7nRobED8?t=1m4s
Once you have checked the design and interaction within Preview, it's time to move on to the Cross Browser Testing step.
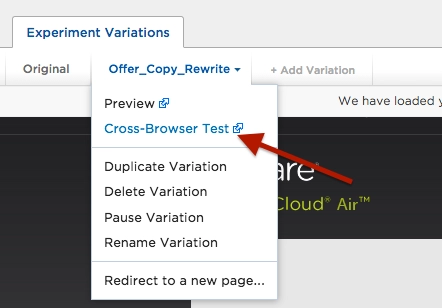
Step #2: Checking Experiments Across Browsers & Operating Systems
Did you know that Optimizely has a partnership with crossbrowsertesting.com that makes their tool free for you?
Yup, that little link there!
Before Optimizely plugged that feature into the experiment editor, we used to have to load up a few virtual machines in Parallels Desktop, fire up every version of Internet Explorer, Firefox, Chrome and Safari across both Windows and Mac in order to get a feel for how our experiment would render across browsers and operating systems.
No more I say! When you click on the cross-browsing testing option, you'll be taken to a web page that looks a little something like this (give it about 2 minutes to load):
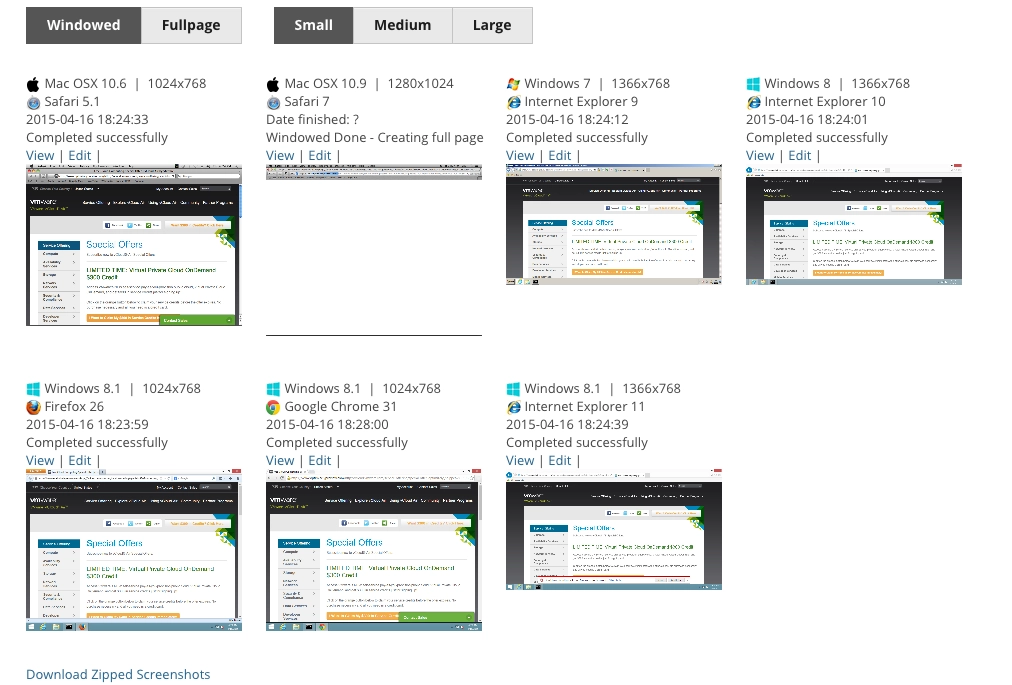
When we review the experiment across browsers and OS's, we look for a few things:
- Mobile versus Desktop: How does this experiment render across both mobile and desktop devices? Oftentimes, we'll scrap the mobile version of the experiment or create a specific experiment only for mobile devices.
- Design versus Code: A regular issue we run into is that we used the 'Move & Rearrange' feature in the editor to move a button or block of text around the page. This will render differently across different browsers and OS's. Check your intended design versus the code output that browsers interpret for site visitors.
- Windowed versus Full Page: The windowed view is essentially your 'above the fold' look at the experiment. Full page allows you to see the entire page, which is obviously better if you made changes deeper into the page.
- Pro Tip: Completely ignore Windows Vista and XP screenshots. For reasons unknown to me, those two versions of Windows absolutely destroy your design. Fortunately for you, not many people still use Vista or XP :-)
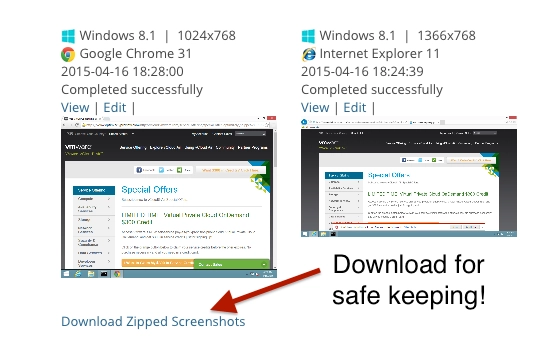
One last word to the wise: There is a super handy 'download zipped screenshots' link at the bottom of the screenshot panel. We sometimes download these screenshots in order to pass them along to a client for approval or simply keep for our own QA-ing records.
Step #3: Using the force parameter
This is a trick that the Optimizely support team mentioned to us in a recent Optiverse Q&A session.
In essence, a force parameter allows you to force yourself to see a specific variation, even when it's paused. You can read their official documentation on that process here, and we've outlined the steps to use the force parameter to perform QA below.
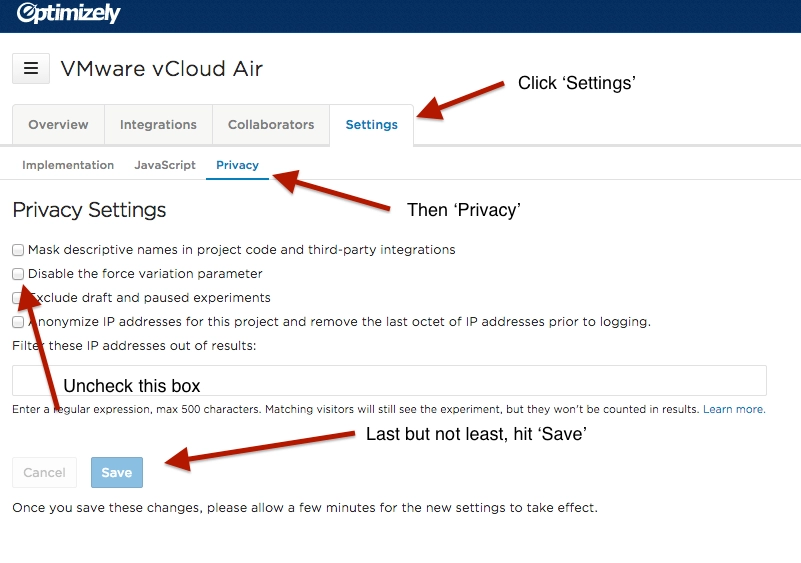
Step 1: Enable Force Parameter in your Optimizely Account
Navigate to "Settings", then "Privacy" and then un-check the box marked "Disable the Force Variation Parameter" and hit the blue "Save" button.
By default, this feature is not available in your Optimizely account. And for good reason! If anybody was wise enough to use a force parameter, they could look at all of the experiments you have built in Optimizely even if you did not publish them.
Step 2: Firing a Paused Experiment into a Live Staging Link
Alright, now you've got Optimizely all set up to allow you to use force parameters.
So what does this actually look like?
A force parameter is comprised of three elements:
- Simple match experiment URL: This is the URL the experiment is running on
?optimizely_xEXPERIMENTID: The specific experiment ID=VARIATIONID: The variation you want to fire. Using a tab system, Optimizely counts from left to right; from 0 to 1 to 2 to 3 ... As a rule of thumb, your original is always variation zero.
Wait ... what???
It'll look a little something like this:

Step-by-step, here is how you'll find the force parameter for your experiment.
- Open a tab in your browser and enter the simple match URL that you are experimenting on into the address bar.
- In a separate tab, log into Optimizely and choose an experiment.
- Go into 'Editor' mode.
- Click on 'Options' dropdown on the far right and find 'Diagnostic' report.
- Once you click on 'Diagnostic', you'll see a 9-digit 'Experiment ID' number. Write that down.
- Choose the variation you'd like to see. Is it a simple A/B test? Then variation zero is your original, and variation 1 is represented by the number 1.
- Compile your force parameter URL and, opening a third tab in your browser, enter it into the address bar and hit enter.
There you have it!
This is our three-step process to ensure every single conversion optimization experiment we launch is properly QA'd before hitting the 'Start' button.
Out of curiosity, how do the conversion marketers reading this post perform quality control checks on A/B testing activity?